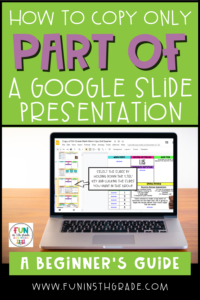
A step-by-step tutorial geared toward teachers who want to learn how to copy part of a google slide presentation.
Did you know that you can copy only selected slides of a google drive presentation?
Well…you most definitely can, and it can be a really useful tool when dealing with long Google Slides documents like our Daily Math Warm-ups.

The 4th and 5th Grade Daily Math Warm-ups have 180 slides where students can manipulate shapes, answer daily questions, and generally review previous knowledge. This resource is definitely robust, but it is also just BIG.
Now, having 180 slides definitely is a benefit for the teacher.
- All the ‘worksheets’ are together in one place
- The slides can be rearranged and manipulated to focus on just the skills you are currently working on
- You can see all of the slides in one place to make quicker decisions
- You can send them to Special Education teachers to use with struggling students
- …and on and on.
The problem lies in sharing the document with students. As teachers, we understand the importance of holding some things back from students. They don’t need us sending them 180 slides at one time because it will be too overwhelming for some students and too tempting for others.
The overwhelmed students will struggle to find the right slide to work on, and the overachiever types will have all 180 slides done by the opening bell the next day.
This is all to say that the Daily Math Warm-ups is a resource that needs to be trickled out to students a little at a time.
But how do you break up a 180-slide presentation and only assign the slides you want? It’s actually really easy.
Let’s break it down step-by-step.
How to Copy Part of a Google Slide Presentation (Step-by-Step Tutorial)
Step 1:
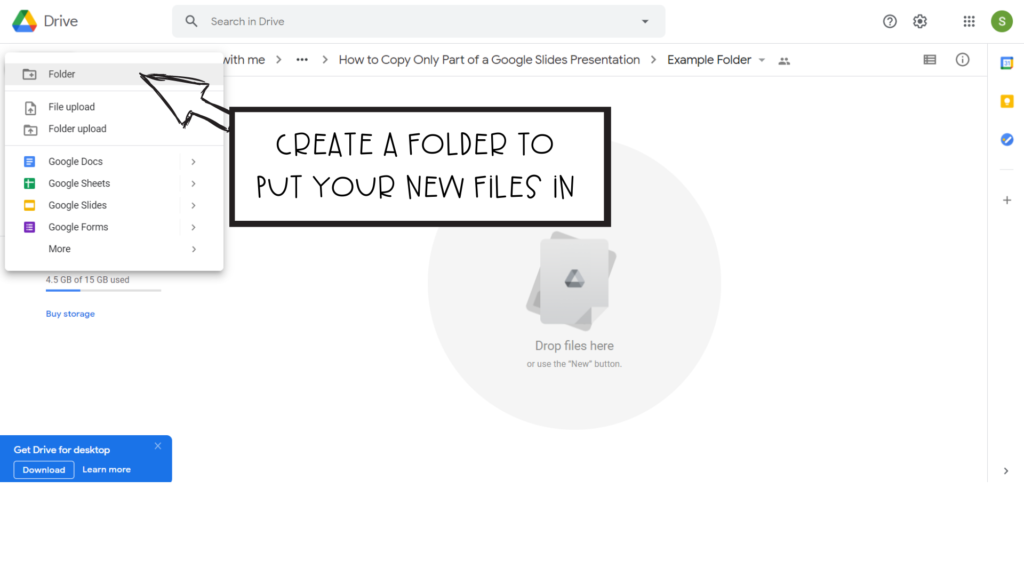
Create a folder in your Google Drive where you will house your new copies.

Step 2:
Open the presentation or document you want to break up into smaller chunks.

Step 3:
Decide how you want to break up the resource (weekly, daily, monthly, quarterly…)
If you are doing this with the Daily Math Warm-ups, you may consider sending them to students each week.
Step 4:
Select the slides/pages to be included in the first copy. Since we are going to use the example of sending weekly slides to students for the Daily Math Warm-up, we will want 5 slides in each copy. (Tip: Hold down the ‘Ctrl’ key to allow you to select individual slides)

Step 5:
Select ‘File’ then ‘Make a Copy’ then ‘Selected Slides’
This will create a NEW Google Slides document with only the slides you selected.

Step 6:
Save the NEW resource. If you are breaking the Daily Math Warm-ups up weekly, we suggest naming the slides using the date students will begin them or the date you will send them to students. This way, you can quickly identify which set you want to send. Thinking with the future in mind, you may also consider numbering the set (i.e., Set 1, Set 2, etc.) that way next year you can easily rename them to align with the new dates.

If you are looking for other tips and tricks for using Google Slides you may consider reading our blog post How to Digitize Worksheets: A Step-by-Step Guide.


