
Whether you are into the holidays or not, this Figurative Language Holiday Craftivity will provide a fun, engaging, and educational opportunity for filling your classroom or home with holiday spirit this year.
We always love when student crafts can help us decorate our rooms or bring joy to others, and this Figurative Language Holiday Craftivity is sure to do just that.
This simple activity allows students to practice figurative language in a way that is one step beyond the typical worksheet-style activity. In addition to that, the craft part of this activity also gives students a chance to work on some of those other fine motor skills that are often forgotten about in upper elementary education.
How to use the Figurative Language Holiday Craftivity
I’ve always had students work on this activity between all the other holiday-inspired activities and lessons since it does take a little time to complete with all the coloring cutting, but the result is so fun for the kids that it is well worth it.
Although there are many ways to display the students’ lights at the end of the activity, I often tend to keep the beginning steps the same.
Holiday Craftivity Option #1: The Original
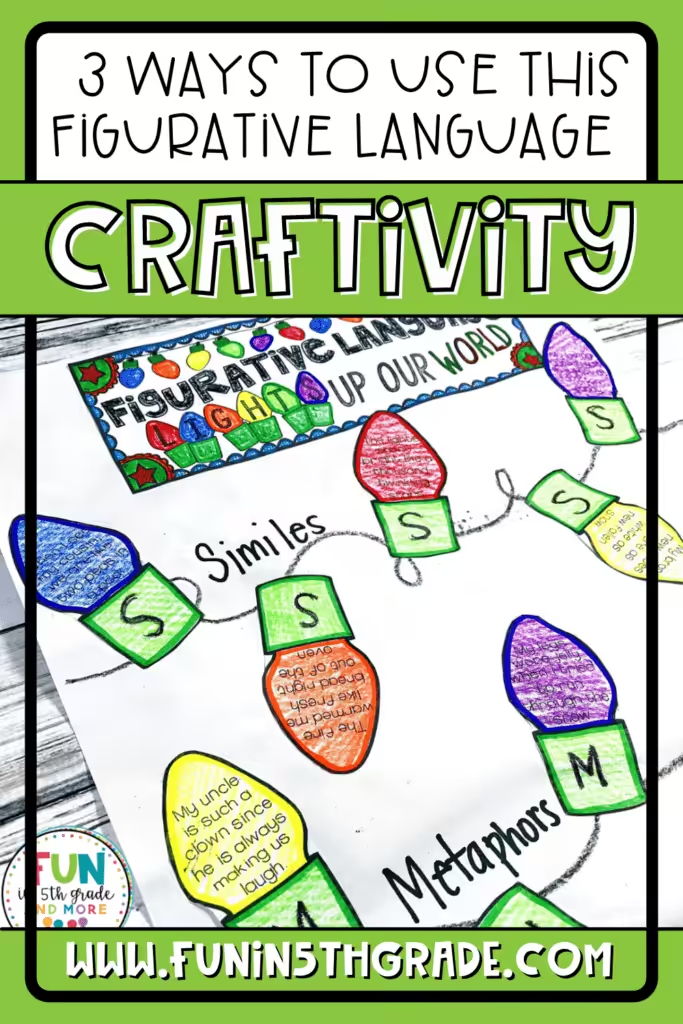
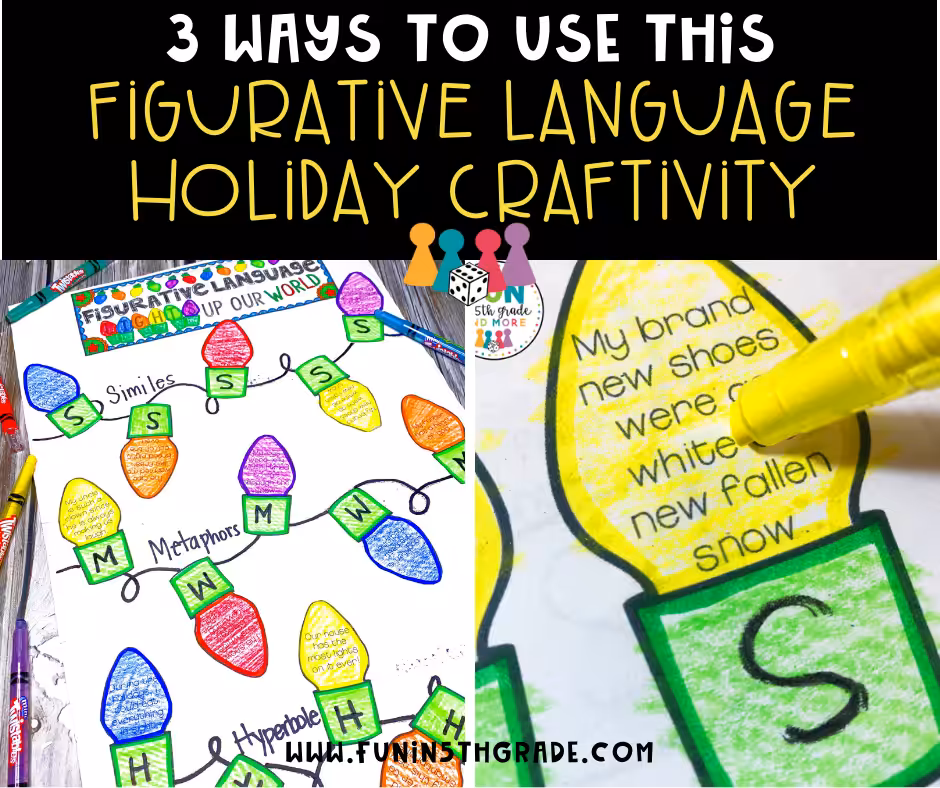
Step #1 | First, I ask students to work through the figurative language examples on the lights and label each one with the correct letter associated with the type of figurative language it represents (example: M = Metaphor, S=Simile, etc).
Step #2 | Once students work through and put the letters on the lights, I then have them check it with others and fix any they got wrong.
Step #3 | When they know their answers are correct, they proceed to go back over the letters in marker to make them really pop!
Step #4 | Lastly, students color the lights and complete the activity by ‘stringing’ the lights onto their project using swirly lines and extra pops of color to finish up the project. [Note: A more detailed explanation of this last step is available within the Figurative Language Holiday Craftivity resource.]
But, as always, we have a few additional suggestions for this resource.
Holiday Craftivity Option #2: Fill the Room with Traditions!
In this variation on the Figurative Language Holiday Craftivity, we are going to get our students involved in creating their own winter or holiday-inspired figurative language examples.
We are always looking to get to know our students better, and the holiday season (or the winter season) is a great time to learn about some of your students’ experiences with this time of year. Often we are concerned with doing activities that are inspired by religious holidays, but this variation allows students to share what this season looks like in their homes while simultaneously working on figurative language.
Students can also color the lights to more directly reflect their own experiences. For example, if they celebrate Hanukkah, they may use more blues and yellows in their lights, or if they celebrate Kwanzaa, they may choose to use fruit-inspired colors to give a nod to that holiday. Although the activity is inspired by twinkle lights, it can always be adapted to serve these other interests and experiences.
Steps #1-#3 are the same as above…
Step #1 | Identify and label figurative language examples
Step #2 | Check answers
Step #3 | Go over answers with a marker…
Then this is where things change
Step #4 | Now, students are going to flip over their papers and use the window or another means to carefully trace the outlines of the lights onto the back of the page.
Step #5 | Once they’ve traced the examples, they are going to create at least 1 page of their own figurative language examples based on some of their own winter or holiday traditions using the back of the lights.
Step #6 | As students create their own examples based on their own winter or holiday traditions, they will label each of their examples exactly as they did in Step #1 above.
Step #7 | After they have their examples labeled, they will group up and work with others to check their answers, share their experiences, and generally learn more about each other while also discussing their figurative language examples. [Note: this sharing time could also be done as a large group over several days.]
Step #8 | After the student shares their own examples (while simultaneously fixing and labeling them correctly as needed), the students will then cut out and color their examples.
Step #9 | For this version, it is sometimes fun to hang the lights up around the room or in the hallway using yarn so that people can read the other examples that students have written and learn more about them, their home lives, and their traditions.
Holiday Craftivity Option #3: Color Me Correct
Finally, in this variation on this Figurative Language Holiday Craftivity, we are going to encourage a little devious coloring to take place.
In the previous activities, students were encouraged to color their lights in any way that suited them, but this time, we are going to be a little more specific.
This activity is prepped in a slightly different way.
Step #1 | Hand out the full sheets of figurative language light examples to students.
Step #2 | Have students work through the examples, but instead of labeling the lights directly, they will label them in the white space near the lights.
Step #3 | Once they’ve labeled all the examples, students will check their answers with others or on the answer sheet.
This is where it starts to get interesting.
Step #4 | Now that students know the correct answers, the class will assign colors to each type of figurative language (Example: Simile=Orange, Metaphor=Red, Personification=Blue, etc.)
Step #5 | Students will then color their lights, but they will only color 50% of their lights the color that actually corresponds to the correct answers; the other 50% will be purposefully colored incorrectly.
Step #6 | After they are finished coloring, students will cut out their lights and they will place them in a baggy or container.
Step #7 | At this point, the teacher has a few options…
- Option #1: Students can pass their set of lights to another student who pulls the examples out one at a time and tries to sort them out (correctly colored lights in one pile and incorrectly colored lights in another). [Remember, the answers are not on the lights, so students have to consider the color the light is colored, the answer the color suggests, and directly compare that to the example and what the real color should have been. This is a thinker!]
- Option #2: Have groups of 3-4 students mix all their lights together, and then have all of the groups in the room race to work through the separation process. This is a fun problem-solving challenge. [Suggestion: tell students the objective before they get started and let them talk through a strategy. This will allow them to really get the mental juices flowing!]
- Option #3: Mix all the lights together in a bucket or bowl and use the color mismatched lights in centers throughout the following days. When students go to this center, they will pull out a light, read the example, and determine whether or not the color associated with the light is correct. They will then sort them. If students did the activity correctly, then once all the lights are sorted, they will have the same number of ‘correct’ lights as they do ‘incorrect’ lights.
No matter which option you choose, this Figurative Language Holiday Craftivity is the perfect way to bring a little light and joy into your classroom this winter season! Check out this post to learn about even more ways you can use Fun in 5th Grade resources and blog posts to plan your holiday season!