
 Hey all! I’m back here to give you some more information about Brag Tags…how to get organized with them! In my last post, we talked about getting them ready to use for classroom management before the school year starts so you can be ready to encourage and motivate your students from day 1. Now that your Brag Tags are ready, what exactly are you going to do with them?!
Organizing at Home
Prepping Your Organizer
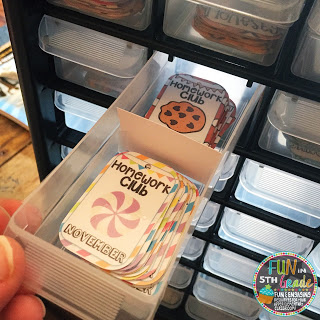
Here’s the organizer that I bought on Amazon. I love that it has so many drawers for all of my tags.

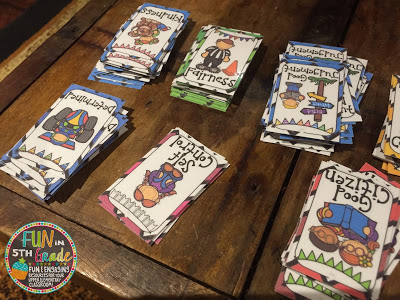
 Some others I’ve seen have organized them into binders using the card protectors pictured here. This would be a cheaper option if you’re just getting started. It really depends upon your budget. I think either would be an excellent way to organize and keep Brag Tags handy for making sure to hand them out.
 Getting Organized in the Classroom
 The last thing you need to organize is where you are going to house the Brag Tag necklaces or keychains in the classroom. I recommend NOT allowing students to wear them home but that is totally up to you and what you think your group can handle. The first year I did them, my students took them home and most ended up losing or not bringing them back which resulted in them not really caring about earning more.
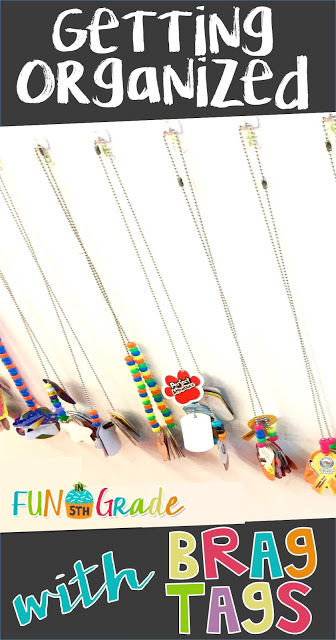
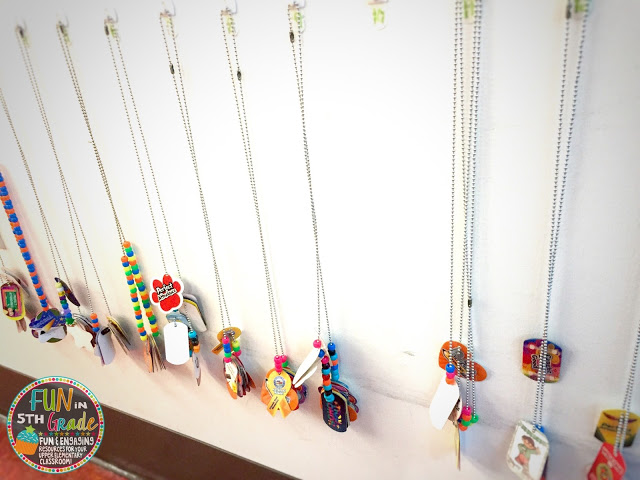
First, I got little sticky clips. I got the ones pictured because there were 40 in a pack and one pack was enough for the whole class. Plus, they were strong enough for the necklaces while still being on the cheaper end.
I then found a spot in my classroom and attached the clips right to the wall and then labeled them with numbers. All of my students have a classroom number. It makes labeling easy and I can use the same labels for years to come.
That’s all I have on how I organized my Brag Tags. Don’t forget, you can score many awesome Brag Tags to get you started in my Teachers Pay Teachers Store.
Tune in next week to see how I manage Brag Tags in the classroom! Thanks for stopping by!